The pH level of a substance can significantly influence chemical reactions, product stability, and even legal compliance. Therefore, understanding how to accurately measure pH using a Digital pH Meter is essential for any laboratory professional or researcher.
AnaLab Scientific Equipment (AnaLab), the most trusted supplier of Digital pH Meters in India, is committed to empowering laboratories with top-of-the-line instruments that ensure reliable and accurate pH measurements. This guide will walk you through the essential steps to properly measure pH using a Digital pH Meter, ensuring that your readings are precise and reproducible.
Understanding pH and Its Importance:
Before diving into the technical aspects of using a pH Meter for laboratory purposes, it's essential to understand what pH is. pH is a measure of the hydrogen ion concentration in a solution, reflecting its acidity or alkalinity on a scale of 0 to 14.
Accurate pH measurement is vital in various applications, such as:
-
Water quality testing:Ensuring the safety of drinking water and maintaining the appropriate pH levels in swimming pools.
-
Food industry:Monitoring the pH of products to ensure quality and compliance with food safety standards.
-
Pharmaceuticals:Maintaining the stability and efficacy of drugs.
-
Environmental monitoring:Assessing soil and water pH to determine pollution levels and the health of ecosystems.
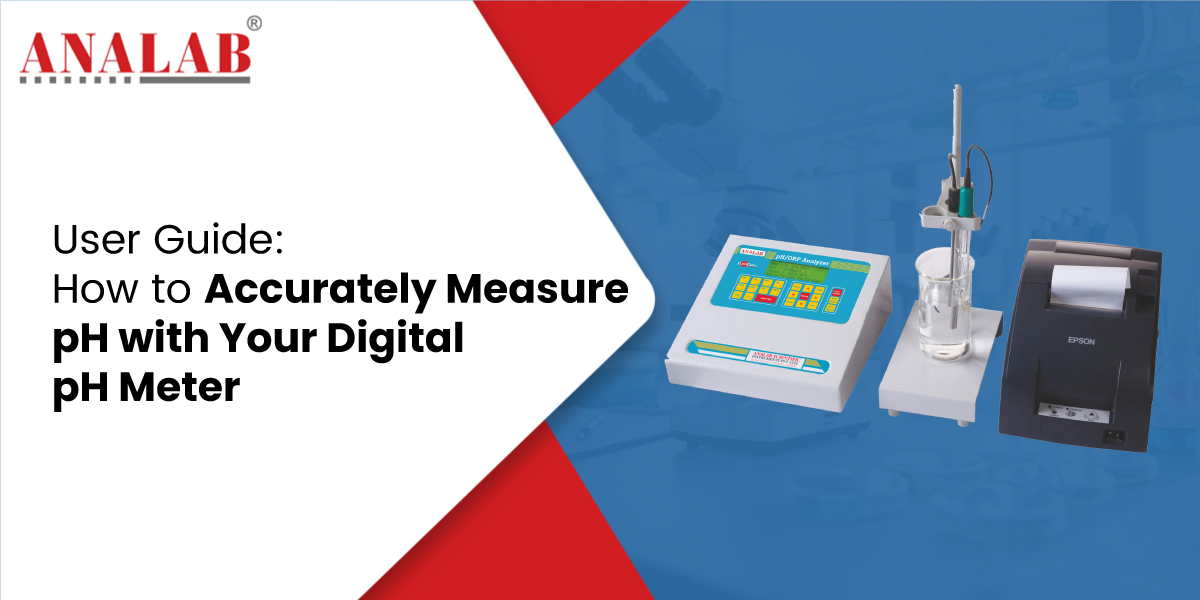
Components of a Digital pH Meter:
-
Electrode (pH Probe):The electrode, often referred to as the pH probe, is a sensor that detects the hydrogen ion activity in the solution. It usually consists of a glass bulb containing a reference electrode and a sample electrode.
-
Meter:The meter is the display unit that shows the pH reading. It converts the signal received from the electrode into a readable pH value.
-
Temperature Sensor:Some Digital pH Meters come with a built-in temperature sensor to compensate for temperature variations that can affect pH readings.
-
Calibration Solutions:Calibration is essential for ensuring accurate measurements. Calibration solutions (usually pH 4.0, 7.0, and 10.0) are used to standardize the meter before taking measurements.
Step-by-Step Guide to Measuring pH with a Digital pH Meter:
1. Preparation and Setup:
Before starting, ensure that your Digital pH Meter is clean and in good working condition. Inspect the electrode for any visible damage, and check that the calibration solutions are fresh and uncontaminated. Set up your workspace with the necessary equipment, including the pH Meter, calibration solutions, distilled water, and a clean beaker.
2. Calibrating the Digital pH Meter:
Calibration is a critical step that ensures the accuracy of your pH Meter.
-
Turn on the Meter:Power on your Digital pH Meter and allow it to warm up if necessary. Some models may require a brief stabilization period.
-
Rinse the Electrode:Rinse the electrode with distilled water to remove any contaminants. Gently blot it dry with a lint-free tissue.
-
Immerse in Calibration Solution:Dip the electrode into the first calibration solution (usually pH 7.0). Wait for the reading to stabilize, then adjust the meter to match the known pH value of the solution.
-
Repeat for Other Solutions:Rinse the electrode and repeat the process with the pH 4.0 and pH 10.0 calibration solutions. This multi-point calibration ensures accuracy across the pH scale.
-
Store the Electrode Properly:After calibration, store the electrode in an appropriate storage solution. Never allow it to dry out, as this can damage the sensor.
3. Measuring the pH of a Sample:
Once your Digital pH Meter is calibrated, you're ready to measure the pH of your sample:
-
Rinse the Electrode:Before measuring, rinse the electrode with distilled water to avoid contamination from previous samples.
-
Immerse the Electrode in the Sample:Place the electrode into the sample solution. Stir gently to ensure uniformity. Make sure the electrode is fully submerged and not touching the sides or bottom of the container.
-
Wait for Stabilization:Allow the meter to stabilize, which may take a few seconds to a few minutes depending on the sample and meter model.
-
Record the pH Value:Once the reading stabilizes, record the pH value. If your meter has automatic temperature compensation (ATC), it will adjust the reading based on the sample's temperature. If not, you may need to manually adjust the pH reading according to the sample's temperature.
4. Post-Measurement Care:
After taking your measurements, proper care of the Digital pH Meter is crucial for maintaining its accuracy and longevity:
-
Rinse the Electrode:Immediately rinse the electrode with distilled water after each use. This step prevents residue buildup that can affect future readings.
-
Store the Electrode Properly:Store the electrode in a suitable storage solution, ensuring it remains moist. Never use distilled or deionized water for storage, as it can damage the sensor.
-
Clean the Electrode Regularly:Periodically clean the electrode according to the manufacturer's instructions. This may involve soaking it in a cleaning solution to remove any deposits or contaminants.
Common Troubleshooting Tips:
Even with the most trusted pH Meter for laboratory use, you may encounter issues that can affect the accuracy of your readings.
-
Inaccurate Readings:If the pH readings seem inconsistent, recalibrate the meter and ensure the electrode is clean and undamaged.
-
Slow Response Time:A sluggish response time can be caused by a dirty or damaged electrode. Clean or replace the electrode as needed.
-
Unstable Readings:Unstable readings may occur if the electrode is not fully immersed in the sample or if the sample is not homogeneous. Stir the sample gently and ensure proper immersion.
-
Temperature Fluctuations:Temperature variations can affect pH readings. Use a meter with automatic temperature compensation or manually adjust the readings based on the sample temperature.
Why Choose AnaLab for Your Digital pH Meter Needs?
AnaLab has established itself as the most trusted Digital pH Meter supplier in India, offering a wide range of high-quality pH Meters designed for laboratory and industrial applications. Here’s why you should choose AnaLab:
-
Precision:Our Digital pH Meter is engineered for accuracy, ensuring reliable results every time.
-
Durability:Built to withstand the rigours of daily laboratory use, our pH Meters are durable and long-lasting.
-
Ease of Use:With user-friendly interfaces and easy-to-follow calibration procedures, AnaLab’s pH Meters simplify the process of pH measurement.
-
Technical Support:AnaLab provides comprehensive technical support and guidance to help you get the most out of your pH Meter.
-
Trusted Reputation:With years of experience in the industry, AnaLab has earned the trust of laboratories and researchers across India.
Closing Thoughts:
Accurate pH measurement is a cornerstone of scientific research and industrial applications. By following the guidelines outlined in this user guide, you can ensure precise and reliable pH readings using your Digital pH Meter. Remember, regular calibration, proper electrode maintenance, and adherence to best practices are key to obtaining consistent results.
When it comes to selecting a reliable pH Meter for laboratory use, AnaLab stands out as the go-to supplier in India. Our commitment to quality, precision, and customer satisfaction makes us the preferred choice for laboratories nationwide. Invest in an AnaLab Digital pH Meter today and experience the difference in your pH measurement accuracy.